How to Take a Screenshot of a Specific Area on Windows
Learning the most efficient methods for taking a screenshot of a specific area on Windows transforms how you share information. Whether you need to highlight a small segment of a spreadsheet for a report or capture a unique error message for technical support, mastering these built-in tools saves time and improves clarity.
You don’t need expensive third-party software to get professional results. Instead, you can rely on the native capabilities already integrated into your operating system to quickly grab exactly what you need.
Using the Snipping Tool for Precision
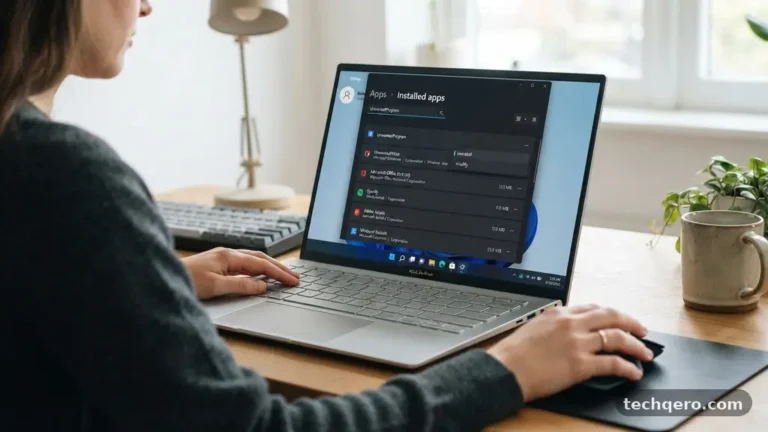
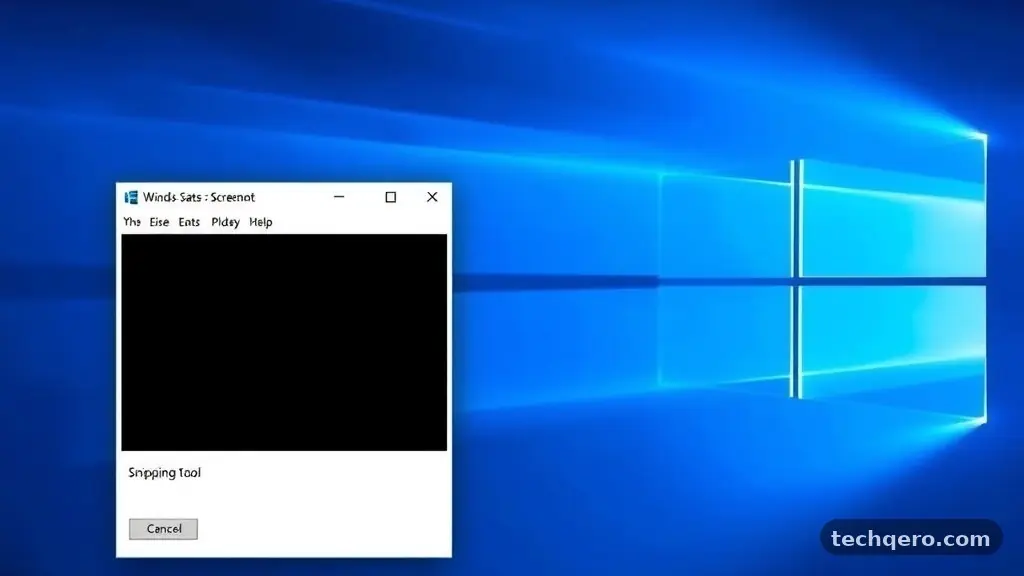
The Snipping Tool is the primary utility for capturing custom regions of your display. To open it, press the Windows key and type “Snipping Tool” into the search bar, then select the application from the results.
Once it is active, you will see a simple interface with a “New” button. Clicking this button dims the screen and allows you to use your mouse to draw a box around the precise area you want to save.
Modern versions of Windows 11 have improved this utility significantly with a dedicated mode menu. You can choose between a rectangular snip, a freeform snip, a window snip, or a full-screen capture. The rectangular mode is the most common choice for selecting a specific area.
After you define the boundaries of your selection, the image immediately appears in the Snipping Tool editor. From here, you can annotate the image with a pen tool, highlight important text, or crop it further before saving it to your computer.
Speed is a major advantage when using this method. If you prefer keyboard shortcuts, the combination of Windows + Shift + S triggers the capture overlay instantly. This shortcut is the fastest way to initiate a snip without navigating through menus.
Once you release the mouse button, the image is copied to your clipboard. You can then paste it directly into an email, a messaging app, or a document using the standard Ctrl + V command.
Keyboard Shortcuts for Faster Captures
While the mouse-driven interface is intuitive, power users often rely on keyboard shortcuts to streamline their workflow. The most versatile command is the Windows + Shift + S sequence.
This triggers the screen dimming effect and allows you to immediately select the portion of the screen you wish to capture. It essentially replaces the older Print Screen key method by offering more control over the output.
If you prefer using the dedicated Print Screen key on your keyboard, you can configure it to launch the screen capture tool automatically. Navigate to your System Settings, select Accessibility, and then look for the Keyboard section.
You will find an option labeled “Use the Print Screen button to open screen snipping.” Enabling this toggle means that a single press of the key will launch the selection mode, making it much easier to take a screenshot of a specific area on Windows without complex finger gymnastics.
It is important to understand where these files go once you have captured them. By default, Windows places these images in your clipboard. If you want to save them as files automatically, the Snipping Tool settings allow you to toggle on “Automatically save screenshots.”
When this is enabled, your images are stored in a dedicated folder under Pictures, typically named “Screenshots.” This prevents you from losing important data if you forget to paste the image elsewhere immediately.
Comparing Capture Methods
Choosing the right tool depends on your specific needs, such as whether you require a quick paste or a saved file. The following table provides a breakdown of the primary ways to capture segments of your screen.
| Method | Shortcut | Primary Benefit |
|---|---|---|
| Snipping Tool | Win + Shift + S | High precision and built-in editing. |
| Print Screen Key | PrtSc | Fastest single-button activation. |
| Xbox Game Bar | Win + Alt + PrtSc | Best for capturing active application windows. |
Each of these methods serves a distinct purpose in a professional or personal environment. The Snipping Tool is best for when you need to edit or annotate the image before sending it.
The Print Screen key is ideal for quick, repetitive tasks where you simply need the raw visual data. Understanding these differences ensures you always pick the most efficient path for your task.
Capturing Active Windows Precisely
Sometimes you don’t need a custom-drawn rectangle; you just need to capture one specific window. The Xbox Game Bar is a powerful, often overlooked tool for this.
By pressing Windows + Alt + PrtSc, you can capture the currently active window without including the rest of your desktop or taskbar. This is incredibly useful for creating clean, professional-looking documentation.
The resulting image is saved automatically to the “Captures” folder within your Videos directory. Because it captures only the window, it eliminates the need to manually crop out background clutter.
This feature is particularly helpful when working with software that has complex interfaces. You can isolate a single dialog box or a specific browser tab with absolute ease.
If you find that the Game Bar is not providing the results you need, you can fall back on the classic Alt + PrtSc shortcut. This command copies the active window to your clipboard.
You can then paste it into an image editor like Paint or Photoshop to refine it. While it lacks the automatic file-saving feature of the Game Bar, it remains a reliable legacy method that works across virtually all versions of the Windows operating system.
Managing and Editing Your Images
Once you have captured your selection, management becomes the next priority. Windows includes a robust image editor within the Snipping Tool that allows for basic modifications.
You can use the ruler tool to draw straight lines, or select the highlighter to emphasize specific data points. These features are perfect for creating instructional materials or providing visual feedback to colleagues.
Organization is equally important when you handle many screenshots throughout the day. If you save your files, avoid leaving them all on the desktop.
Create a folder structure based on dates or project names to keep your workspace clean. Using descriptive file names, such as “Error_Log_2023.png” instead of the default “Screenshot_1.png,” makes it much easier to find the right file months later.
If you need more advanced editing, you can export your captures to third-party software. Many users prefer to paste their screenshots directly into cloud-based document editors or project management tools.
This allows for collaborative annotation where multiple people can comment on the image. Always ensure that sensitive information, such as passwords or personal data, is blurred out before sharing the image externally.
Troubleshooting Common Issues
If you encounter trouble while trying to capture your screen, the first step is to check your background processes. Sometimes, the Snipping Tool may fail to launch if there is an update pending or a conflicting application running.
A quick restart of your computer often resolves these minor software glitches. Ensure that your drivers are updated, especially if you are using a high-resolution display, as this can sometimes affect the capture overlay.
Another common issue is the failure of shortcuts to trigger the capture mode. This usually happens if another application has “hijacked” the hotkey.
You can check for conflicting keyboard shortcuts in your system settings or by closing background apps one by one. If you are using a laptop, ensure that the “Fn” key is not locked, as this can change the behavior of the top row of keys on your keyboard.
For those who prefer a more visual approach, the official Microsoft support page provides deep documentation on all screenshot features. It is a reliable resource if you find that the standard troubleshooting steps do not solve your specific problem. Following the guidelines provided by the manufacturer ensures that your system remains secure and functional while you perform your tasks.
Best Practices for Clear Visual Communication
Taking a clear screenshot is only half the battle; ensuring the content is readable is the other. When you select an area, try to include enough context so the viewer understands what they are looking at.
A cropped image of a single button might be confusing without the surrounding menu labels. Always balance the need for focus with the need for context.
Avoid capturing at a low resolution. If you have a high-DPI monitor, the resulting image will be sharp, but it might be too large for some email clients.
You may need to resize the image before sending it to ensure it loads quickly for the recipient. Maintaining a consistent aspect ratio while resizing prevents the image from appearing stretched or distorted.
Consider the color contrast of your annotations. If you are highlighting text on a white background, use a yellow or light blue highlighter.
If you are using arrows, choose a color that stands out from the rest of the interface, such as bright red or neon green. Clear, high-contrast markings make your instructions much easier to follow, reducing the likelihood of follow-up questions.
Advanced Tips for Frequent Users
If you find yourself needing to capture screenshots dozens of times per day, consider creating a custom workflow. You can pin the Snipping Tool to your taskbar for one-click access. Alternatively, you can use the Task Manager to ensure the background process for the tool is always running, which reduces the delay when you trigger the capture shortcut.
Power users often use a combination of tools to handle complex tasks. For example, you might use the Snipping Tool to capture a specific area and then paste it into a specialized drawing app for advanced layering.
This multi-step approach is common in professional design and technical documentation workflows. Here are a few things to keep in mind:
- Always check for private information before sharing.
- Use consistent file formats like PNG for clarity or JPG for smaller sizes.
- Keep your desktop clean to avoid capturing unwanted icons.
- Use the delay timer in the Snipping Tool if you need to capture a drop-down menu.
- Label your files immediately after saving to maintain an organized archive.
By integrating these habits into your daily routine, you will find that you can document processes much faster. The goal is to move from manual, clunky steps to a fluid, almost subconscious action. Once you reach this level of proficiency, you will spend significantly less time worrying about how to capture your screen and more time focusing on the actual content you are creating.
Frequently Asked Questions
How can I capture a drop-down menu that disappears when I click?
The Snipping Tool includes a delay feature that is perfect for this. Set the delay to 3 or 5 seconds, click “New,” and then open your drop-down menu. The tool will wait for the timer to expire before capturing the screen, allowing you to catch the menu in its expanded state.
Is it possible to capture a specific area across multiple monitors?
Yes, the standard Windows capture tools treat your extended desktop as one large canvas. When you trigger the selection mode, you can drag your mouse across the boundary of your two monitors to select an area that spans both. It works seamlessly as long as the monitors are aligned correctly in your display settings.
Why does my screen flicker when I try to take a screenshot?
A brief flicker is normal and is the visual indicator that the system is processing the capture. If the screen flickers repeatedly or turns black for an extended period, it may indicate a driver conflict or an issue with your graphics card software. Try updating your display drivers to fix the underlying issue.
Can I edit the image after I have already closed the Snipping Tool?
No, once you close the tool without saving, the temporary file is cleared from the editor. If you need to edit the image later, you should save it first to a file format like PNG or JPG. You can then open that file in any image editor, such as Paint or Photos, to make changes at your convenience.
Conclusion
Mastering the art of capturing your screen is a highly practical skill that enhances your digital productivity. Whether you are using the built-in Snipping Tool or relying on keyboard shortcuts, you now have the knowledge to select and isolate exactly the information you need. By consistently applying these techniques, you ensure that your visual communication remains clear, professional, and efficient.
Remember to check your settings to automate the saving process, which will help you build an organized library of your work. Start practicing these methods today, and you will soon find that taking a screenshot of a specific area on Windows becomes second nature. If you have questions about specific workflows, feel free to explore your system settings to further customize your capture experience.