How to Connect a New Printer to a Windows Computer
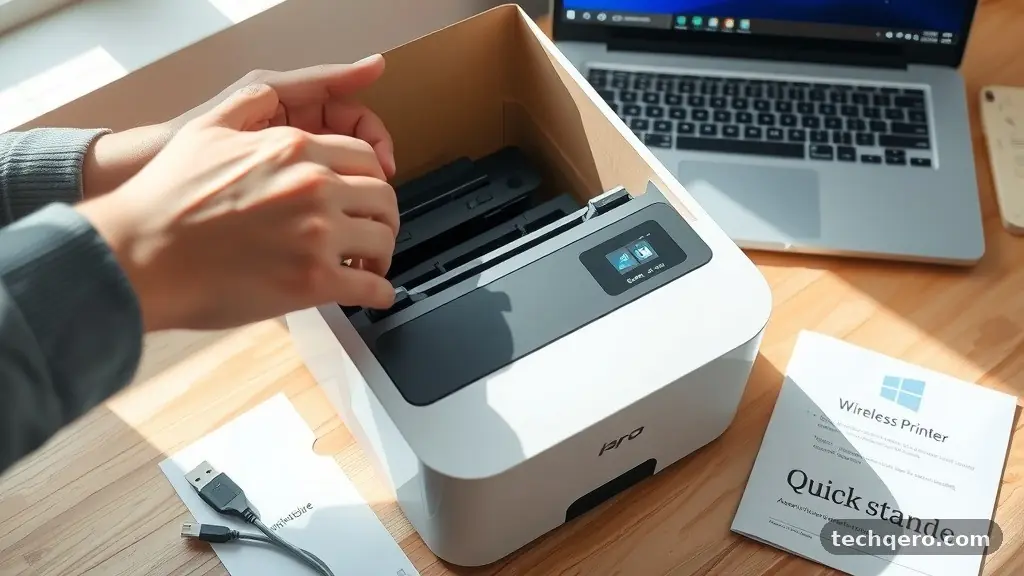
Connecting a new printer to a Windows computer is a task that brings immediate productivity to your workspace once completed. Most modern devices rely on automated discovery processes that simplify the setup, allowing you to move from unboxing to your first print job in just a few minutes.
Whether you are using a wired USB connection or a wireless network configuration, the Windows operating system is designed to detect and integrate your peripheral hardware with minimal friction. This article provides a clear path forward for users looking to streamline their office setup and get their printing hardware operational without unnecessary technical headaches.
The First Steps for Immediate Setup
To begin connecting a new printer to a Windows computer, the most direct method is to use the built-in system settings. Start by turning on your printer and ensuring it is connected to your local network or plugged directly into your machine via a USB cable.
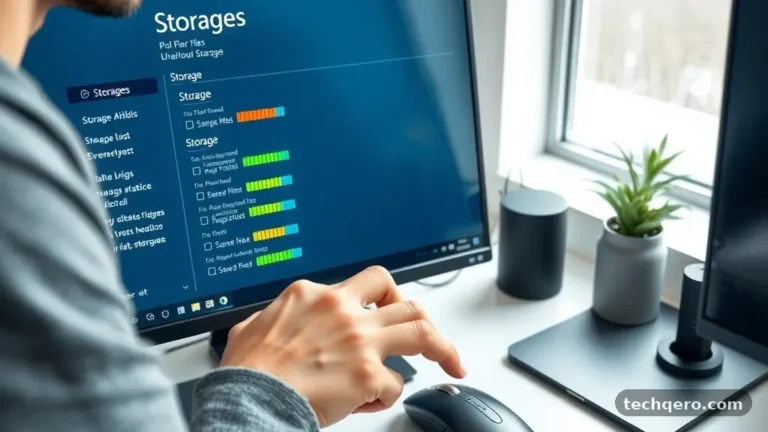
Once the hardware is powered, navigate to the Start menu on your desktop and select the gear icon to open Settings. Click on the section labeled “Bluetooth & devices” or “Devices,” depending on your specific version of the operating system.
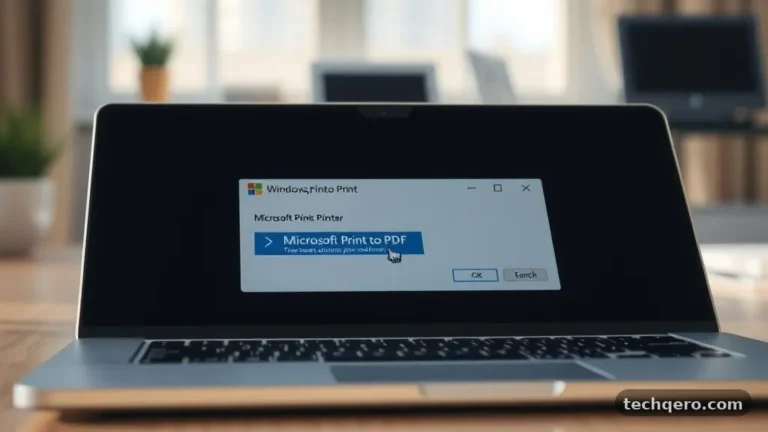
Inside this menu, look for the option labeled “Printers & scanners.” You will see a button clearly marked “Add device” or “Add printer or scanner.” Clicking this will prompt Windows to perform a quick scan of your local environment for any active hardware.
If your printer is powered on and correctly configured on the same network, it should appear in the list within a few seconds. If you see your specific model, click “Add device” to initiate the automatic installation of the necessary software.
Understanding Wired Versus Wireless Connections
Deciding how to link your machine often comes down to the physical layout of your office. A USB connection is the most reliable method for a single-user setup where the printer remains in a fixed position near the computer.
Simply plug the USB cable into an available port on your tower or laptop, and Windows will generally recognize the device instantly. You may hear a notification sound, followed by a message stating that your device is ready to use.
Wireless printing offers significantly more flexibility for shared home or office environments. To establish this link, you must first ensure your printer is joined to your Wi-Fi network using its own control panel or display screen.
Once the printer has a valid IP address on your network, your Windows machine will be able to discover it wirelessly. This removes the need for physical cabling and allows you to place the device anywhere within range of your router.
Managing Printer Drivers
Drivers act as the essential communication bridge between your computer and the printer hardware. While Windows Update is highly effective at downloading the correct files automatically, some specialized printers require manufacturer-specific software to unlock advanced features. If your device is not functioning correctly after the initial plug-and-play setup, visit the official website of the hardware manufacturer.
For instance, if you are setting up a device from a major brand like Canon support, you can download the latest drivers tailored to your specific model number. Always ensure you are downloading from the official manufacturer portal to avoid potential security risks or bloated software packages.
Once the file is downloaded, run the installer and follow the on-screen prompts to finalize the integration. This process often installs a utility application that helps you monitor ink levels and manage paper trays.
Troubleshooting Common Connection Failures
Even with modern automation, you might occasionally encounter a situation where your computer fails to find the hardware. The most frequent culprit is a simple network mismatch, where the printer is connected to a 2.4GHz band while your computer is on a 5GHz band.
Ensure both devices are on the exact same local area network segment to prevent discovery issues. If the printer is plugged in via USB, try a different port on your computer to rule out a faulty connection.
Another common hurdle involves existing background processes that might be stuck. Restarting both the printer and your Windows computer can clear the cache and force a fresh search for hardware.
If the printer remains invisible, manually enter the IP address of the device by selecting “The printer that I want isn’t listed” within the “Add a device” menu. This manual approach forces the operating system to attempt a direct connection to the specific address, which often resolves hidden discovery errors.
Comparing Connection Methods
The choice between a physical cable and a network connection depends entirely on your specific workflow. The following table provides a quick look at the core differences between these two primary methods to help you decide which is best for your environment.
| Feature | USB Connection | Wireless Connection |
|---|---|---|
| Setup Complexity | Low (Plug and play) | Moderate (Requires network login) |
| Mobility | Fixed (Tethered) | Flexible (Anywhere in range) |
| Sharing | Limited (Requires host PC) | High (Multi-device access) |
| Latency | Very Low | Slightly higher |
Managing Multiple Printing Devices
If you work in a space with multiple printers, managing them effectively is key to avoiding frustration. Windows allows you to set a default printer, which ensures your documents are sent to the correct device automatically.
Navigate to the “Printers & scanners” section in your system settings and toggle off the option that allows Windows to manage your default printer. Once disabled, you can manually click on your preferred device and select “Set as default.”
You can also remove older, unused devices to keep your software environment clean. Keeping a long list of offline or outdated printers can sometimes slow down the print dialog box when you are trying to finalize a document.
Review your list periodically and remove any entries that you no longer use. This simple housekeeping step ensures that your active printers are always at the top of the list when you need them.
Essential Tips for Success
A few consistent habits can make the difference between a smooth experience and a constant technical struggle. Keep your Windows operating system updated, as Microsoft frequently releases security patches and compatibility fixes for various hardware drivers.
You should also check for firmware updates for your printer through the manufacturer’s provided software. These updates often improve scanning speeds, fix connectivity bugs, and enhance overall print quality.
* Keep the printer firmware updated to the latest version.
* Ensure your Wi-Fi signal is strong at the printer’s location.
* Use high-quality USB cables if opting for a wired connection.
* Check that the paper tray is properly aligned and closed.
* Verify that you have sufficient ink or toner before major projects.
Frequently Asked Questions
How do I manually add a printer if it does not appear in the list?
If the automatic scan fails, click the link labeled “The printer that I want isn’t listed” in the settings menu. You can then choose to add the printer by its TCP/IP address or hostname. You will need to find the IP address of your printer from its own network configuration page, which is usually accessible via its small LCD screen or a status report printout.
Can I connect a printer to an old computer?
Yes, most older versions of Windows still support standard printer protocols. However, you may need to download the legacy drivers directly from the manufacturer’s website if the printer is significantly newer than the operating system. Ensure your old computer has the necessary USB ports or a compatible network card to handle the hardware requirements.
Why does my printer keep going offline?
Printers often show as “offline” if they have lost their connection to the router or if the computer is struggling to communicate with the device. Try assigning a static IP address to your printer through your router’s settings to ensure it doesn’t change addresses unexpectedly. Also, check that your computer hasn’t entered a power-saving mode that disables the network adapter.
Is it necessary to install the manufacturer’s software?
While Windows can often handle basic printing functions on its own, manufacturer software is highly recommended. It provides you with essential tools for maintenance, such as cleaning print heads, checking ink levels, and managing advanced scanning features. Without this software, you may find that you are unable to use the full range of features your hardware offers.
What should I do if the print queue gets stuck?
A stuck print queue is often caused by a corrupted document file. Open the print queue by clicking on the printer icon in your system tray and cancel all pending jobs. If they refuse to clear, open the Services app in Windows, locate the “Print Spooler” service, and restart it to reset the entire printing subsystem.
Summary and Next Steps
Successfully connecting a new printer to a Windows computer provides a solid foundation for your home or office productivity. By choosing the right connection method—whether that is a stable USB cable or the convenience of a wireless network—you ensure that your hardware remains reliable for years to come. Remember to keep your drivers updated and perform regular maintenance to avoid common connectivity issues.
If you encounter any hurdles, the built-in Windows diagnostic tools and manufacturer support pages are your best resources for finding a quick resolution. Take a moment to verify your default device settings today, and you will be ready to tackle any printing task with confidence and ease.