What to Check Before Installing a New Windows Program
Taking a moment to evaluate your software choices is a smart habit that keeps your computer running smoothly and securely. Knowing exactly what to check before installing a new Windows program can save you from system crashes, unwanted bloatware, or even potential security risks.
When you take control of your digital environment, you ensure that every application you add serves a genuine purpose rather than compromising your system’s performance. This article walks you through the essential verification steps to take before you click that install button, helping you maintain a clean and efficient workspace.
Verify the Source of Your Software
The first and most critical step is ensuring the software comes from a legitimate, trusted origin. You should always prioritize downloading files directly from the developer’s official website or the Microsoft Store. Third-party download portals often bundle legitimate programs with “optional” software, toolbars, or browser hijackers that you never intended to add.
Check the URL in your browser address bar to confirm you are on the authentic site. Look for HTTPS in the address, which signifies that the connection is encrypted.
If a site looks unpolished, contains broken links, or is riddled with aggressive pop-ups, treat it as a red flag. When in doubt, search for the program’s official repository on GitHub or the manufacturer’s primary domain.
Check System Requirements and Compatibility
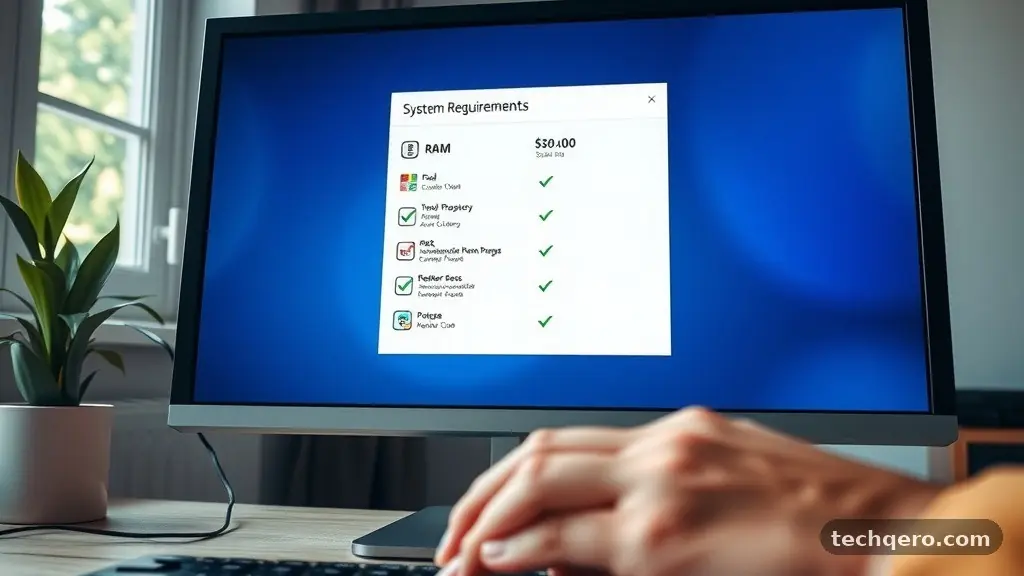
Before you commit to an installation, you must confirm that your hardware can actually handle the application. Most software developers publish a list of minimum and recommended specifications, including CPU speed, RAM, and available disk space. If your device falls below the minimum requirements, you will likely experience sluggish performance, frequent crashes, or total system instability.
You should also verify that the software is compatible with your specific version of the operating system. While many programs are backward compatible, some modern tools require the latest Windows updates to function correctly.
Check the “About” section of your system settings to confirm your current build version. If the software is specifically designed for a newer environment, attempting to force it onto an older setup can lead to registry errors.
Scan Files for Potential Threats
Even if you trust the source, it is good practice to scan any downloaded file before running it. Modern security software often performs this check automatically, but you can manually right-click the file and select “Scan with Microsoft Defender” to be certain. This extra step takes only a few seconds and provides a critical layer of protection against hidden malware.
If you frequently download various utilities, consider using a multi-engine scanner for peace of mind. A popular resource for this is VirusTotal, which allows you to upload a file and have it analyzed by dozens of different antivirus engines simultaneously.
This helps identify threats that a single security tool might miss. Never execute an installer if the scanner reports multiple detections from reputable security vendors.
Manage Installation Options Carefully
The installation process is where most users accidentally agree to unwanted changes. Many installers use a “Typical” or “Express” setting that often includes extra, unnecessary components.
Always choose the “Custom” or “Advanced” installation path whenever it is offered. This allows you to see exactly what is being placed on your drive and where.
During this phase, keep a close eye out for pre-checked boxes. These boxes often grant permission to install browser extensions, change your default search engine, or add background services that consume system resources.
Uncheck anything that does not directly relate to the functionality of the program you are trying to install. Taking these extra moments ensures your system stays clean and free of unnecessary background processes.
Evaluate Storage and Performance Impact
Before you finalize the installation, consider where the program will live on your machine. If you have multiple drives, it is often better to install resource-heavy applications on a secondary SSD or HDD to keep your primary system drive clear. A cramped system drive with little free space can significantly slow down your computer’s overall performance.
Consider the following table when deciding where to place your new software:
| Drive Type | Best Use Case | Performance Impact |
|---|---|---|
| Primary SSD (C:) | Operating System and core drivers | High speed; keep 15% free |
| Secondary SSD | Large applications and games | Excellent; reduces load times |
| HDD (Mechanical) | Media storage and archives | Slower; avoid for active programs |
Prepare a System Restore Point
Creating a restore point is one of the most effective ways to protect yourself against a bad installation. A restore point acts as a snapshot of your system files, registry settings, and installed applications at a specific moment in time. If the new software causes an issue or conflicts with existing drivers, you can easily revert your computer to the state it was in just minutes before.
To create one, type “Create a restore point” into your search bar and open the system properties menu. Select your system drive and click the “Create” button.
Label it clearly, such as “Before installing [Program Name],” so you can identify it later if needed. This safety net allows you to experiment with new tools without the constant fear of breaking your current configuration.
Review Permissions and Background Services
Some programs request administrative privileges or permission to run at startup during the installation process. Only grant these permissions if you are certain the application requires them to function. An application that runs on startup will naturally increase your boot time and consume memory in the background even when you are not using it.
You can manage these permissions after the fact by opening the Task Manager and checking the “Startup” tab. If you find a program there that you do not need to launch immediately upon turning on your computer, you can disable it. Regularly auditing these background services is a key part of maintaining a responsive and efficient Windows environment over time.
Understand the Uninstall Process
It is just as important to know how to remove a program as it is to install it. Before you proceed, quickly check if the software provides a standard uninstaller in your settings or if it leaves behind significant registry clutter. Well-behaved programs generally remove their own files cleanly when you use the “Apps & features” menu.
If a program seems difficult to remove or lacks an uninstaller, it might be better to avoid it entirely. You can also look for portable versions of software, which often run without needing a traditional installation. These versions keep your system registry clean because they do not require deep integration with your operating system files to function.
Frequently Asked Questions
Is it safe to install programs that are not from the Microsoft Store?
Yes, it is generally safe as long as you download them from the official developer’s website. Always verify the site’s authenticity and scan the installer file with your antivirus software before running it.
Why should I use the custom installation option?
The custom option reveals hidden settings and “optional” software bundles that are often pre-selected in express setups. It prevents you from accidentally installing browser toolbars or unwanted third-party utilities.
How do I know if my PC can handle a new program?
Check the developer’s website for the software’s system requirements. Compare these specs against your own by looking at your “About” or “System Information” menu in Windows settings.
What should I do if a program causes my computer to lag?
Use the Task Manager to identify if the program is consuming high CPU or memory. If the issue persists, use your previously created restore point to revert your system to its previous state.
How often should I check for updates after installation?
Most modern Windows programs include auto-update features that you should leave enabled. If they do not, checking once a month is usually sufficient to maintain security and performance.
Conclusion
Taking the time to verify your software choices is a simple but powerful way to keep your computer healthy. By checking sources, managing installation settings, and using tools like restore points, you protect your system from unnecessary bloat and potential security vulnerabilities. Every time you approach a new download, remember that a few extra minutes of due diligence will pay off in the long run.
Maintaining your system is an ongoing process of informed choices rather than a one-time task. As you continue to refine your digital workspace, you will find that a selective approach to what you install leads to a faster, more reliable experience. Feel free to revisit these steps whenever you decide it is time to add something new to your machine.